It is for your personal use only. This pattern may not be sold, published, reproduced-mechanically or electronically, or by any other means, including photocopying from any website(s) or electronic mailing lists, etc… Please do not offer, sell or distribute this pattern in any way to anyone else.
**This and my other plarn patterns are all yarn friendly**
SKILL LEVEL: Easy
MATERIALS:
· Crochet Hook – Size H
· Red Button or color of choice
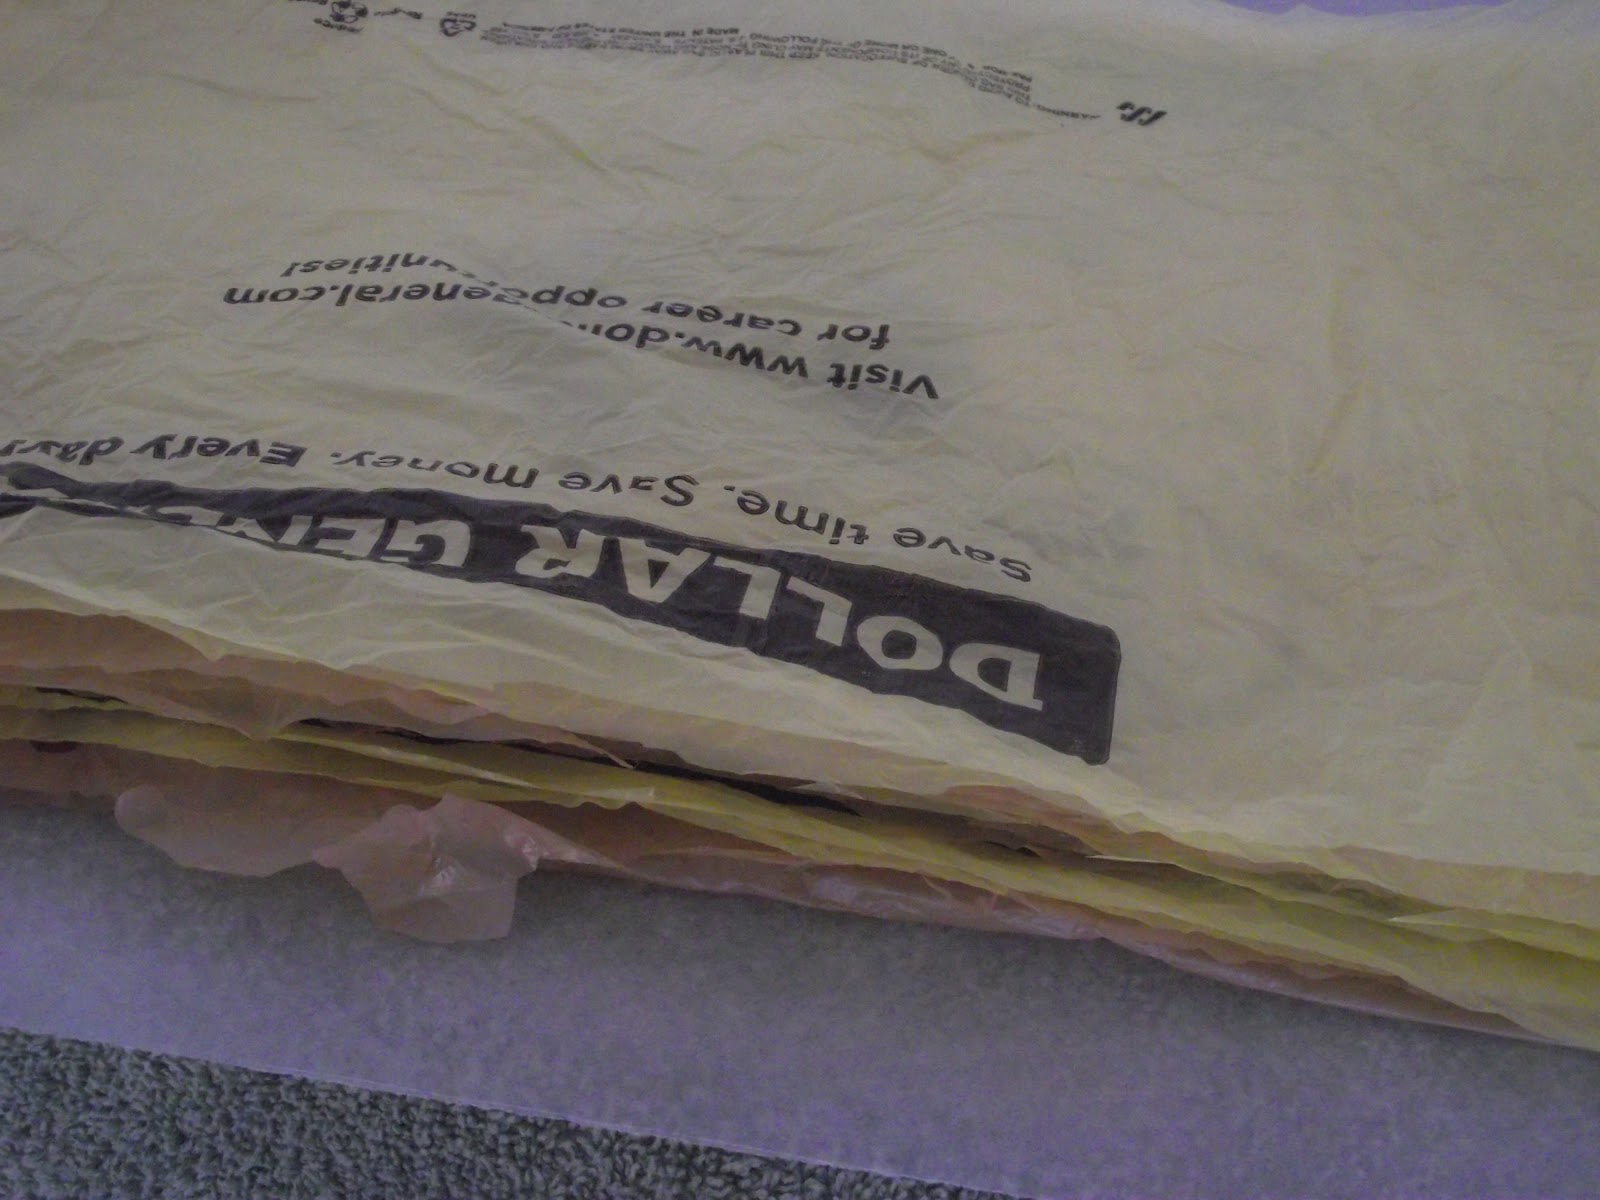
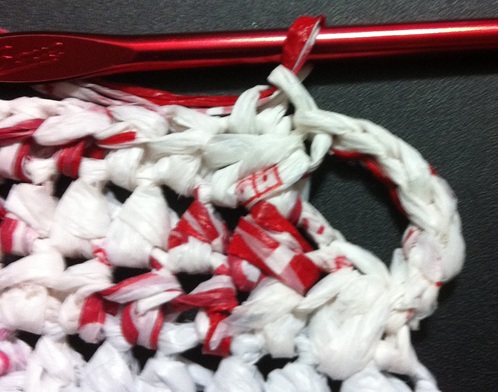
· Plastic Yarn (NOTE: 12 – 1” strips per standard size plastic bag = 6 yards):
o (Main Color) White wih red plastic yarn - approx 12 CVS plastic bags
o (Contrasting Color) Gray plastic yarn – approx 1 WalMart/Lowe's/Kohl's plastic bag
· Craft needle for weaving in ends
SIZE: Width: 5”, Height: 4 ½”
Instructions:
Pouch
With Main Color, chain 15
Round 1: 2 half double crochets in 2nd chain from hook and in each
chain across, 4 hdc in beginning ch (forming the corner). DO NOT TURN.
Working on opposite side of chain, half double crochet in each st across and 2 more half double crochets in last stitch. Join with slip stitch in 1st
half double crochet.
Round 2: Chain 1, half double crochet in same stitch and in each stitch across to corner, 2 half double crochet in first corner stitch, half double crochet in next stitch, 2 half double crochet in next stitch (working around corner). Working opposite side, half double crochet in each stitch across, 2 half double crochet in first corner stitch, half double in next stitch. Join with slip stitch to 1st half double crochet.
Round 3: Working in continuous rounds - half double crochet in each sitch around for a total of 13 rounds or when desired height is achieved.
If you do not end at a corner stitch, fasten off and weave in ends.

Flap
 With front of flap facing you, determine which side will be decreased.
Row 1-6: Join main color with a slip stitch in corner stitch, chain 2, half double crochet in each stitch across to opposite corner, turn.
Row 7: Chain 2, half double crochet in each stitch across, half double crochet the last 2 stitches together, turn.
Row 8: Half double crochet first 2 stitches together, half double crochet in each stitch across.
Row 9: Repeat row 7.
Row 10: Repeat row 8.
Row 11: Repeat row 7.
Row 12: Repeat row 8.
Row 13: Repeat row 7, chain 6, join with a slip stitch in last stitch of Row 11(making the button hole on the decreased side of flap). Turn, slip stitch in each chain 6.

Row 14: Single crochet in each stitch across. Repeat row 14 for longer front flap. Fasten off, weave in end.
Edging
With front of pouch facing you, attach contrasting color at opposite corner of decreased side. Single crochet across front opening of pouch to corner stitch, continuing up front of pouch, single crochet in next 2 end stitches of flap, *chain 2, double crochet in same end stitch, skip next end stitch, slip stitch in next end stitch. *Repeat up flap to next corner ending with a slip stitch in last single crochet of row 14. Single crochet in end row stitch up flap to first single crochet, join with slip stitch of first single crochet stitch. Fasten off, weave in end.


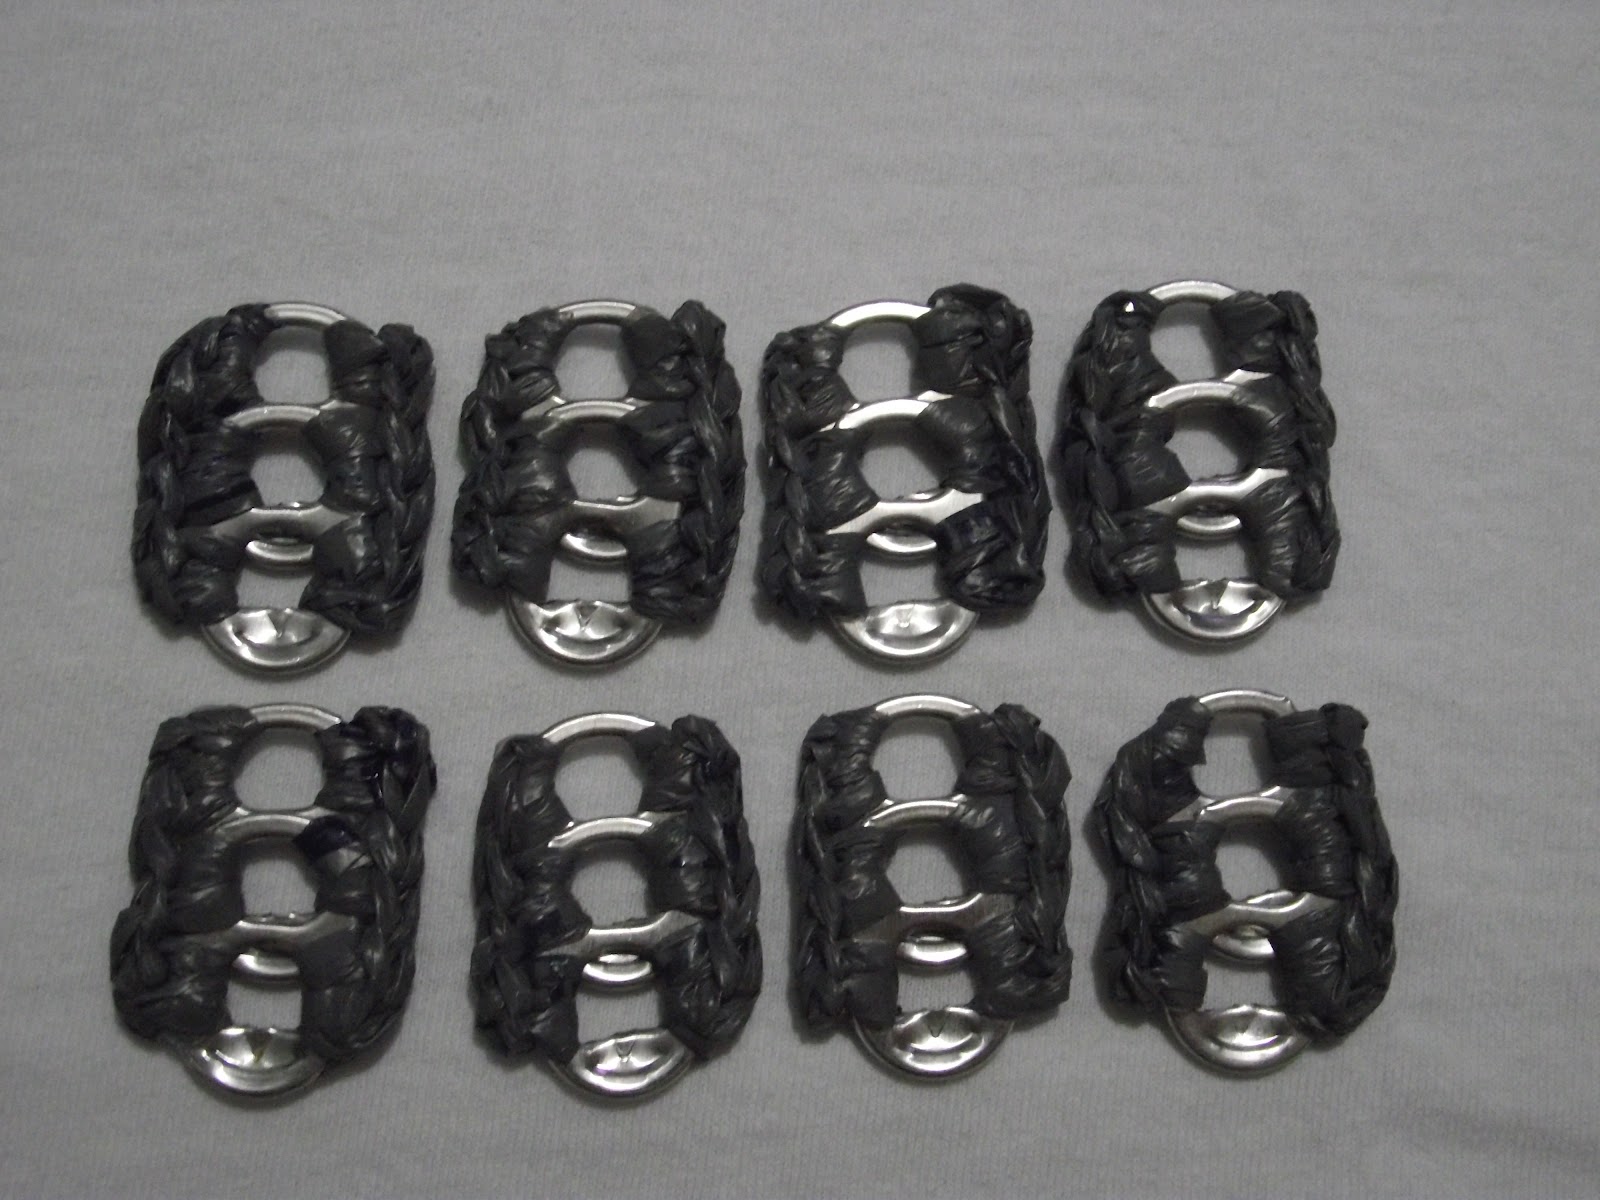
Pop Tab Heart Applique

Access this link for the Heart Applique pattern: http://plastiqrecreation.blogspot.com/2012/07/free-pattern-pop-tab-plarn-heart.html
|
Please don't hesitate to email me
at plastiquerecreations@yahoo.com if you have any
questions.
You can also friend me on Facebook at www.facebook.com/plastiqrecreat
You can also friend me on Facebook at www.facebook.com/plastiqrecreat
Find me in Ravelry under Crochooley