
How to Make Plastic Fusion

Sharing my tutorial on how to make plastic fusion:
SKILL LEVEL: Easy
Materials Needed:
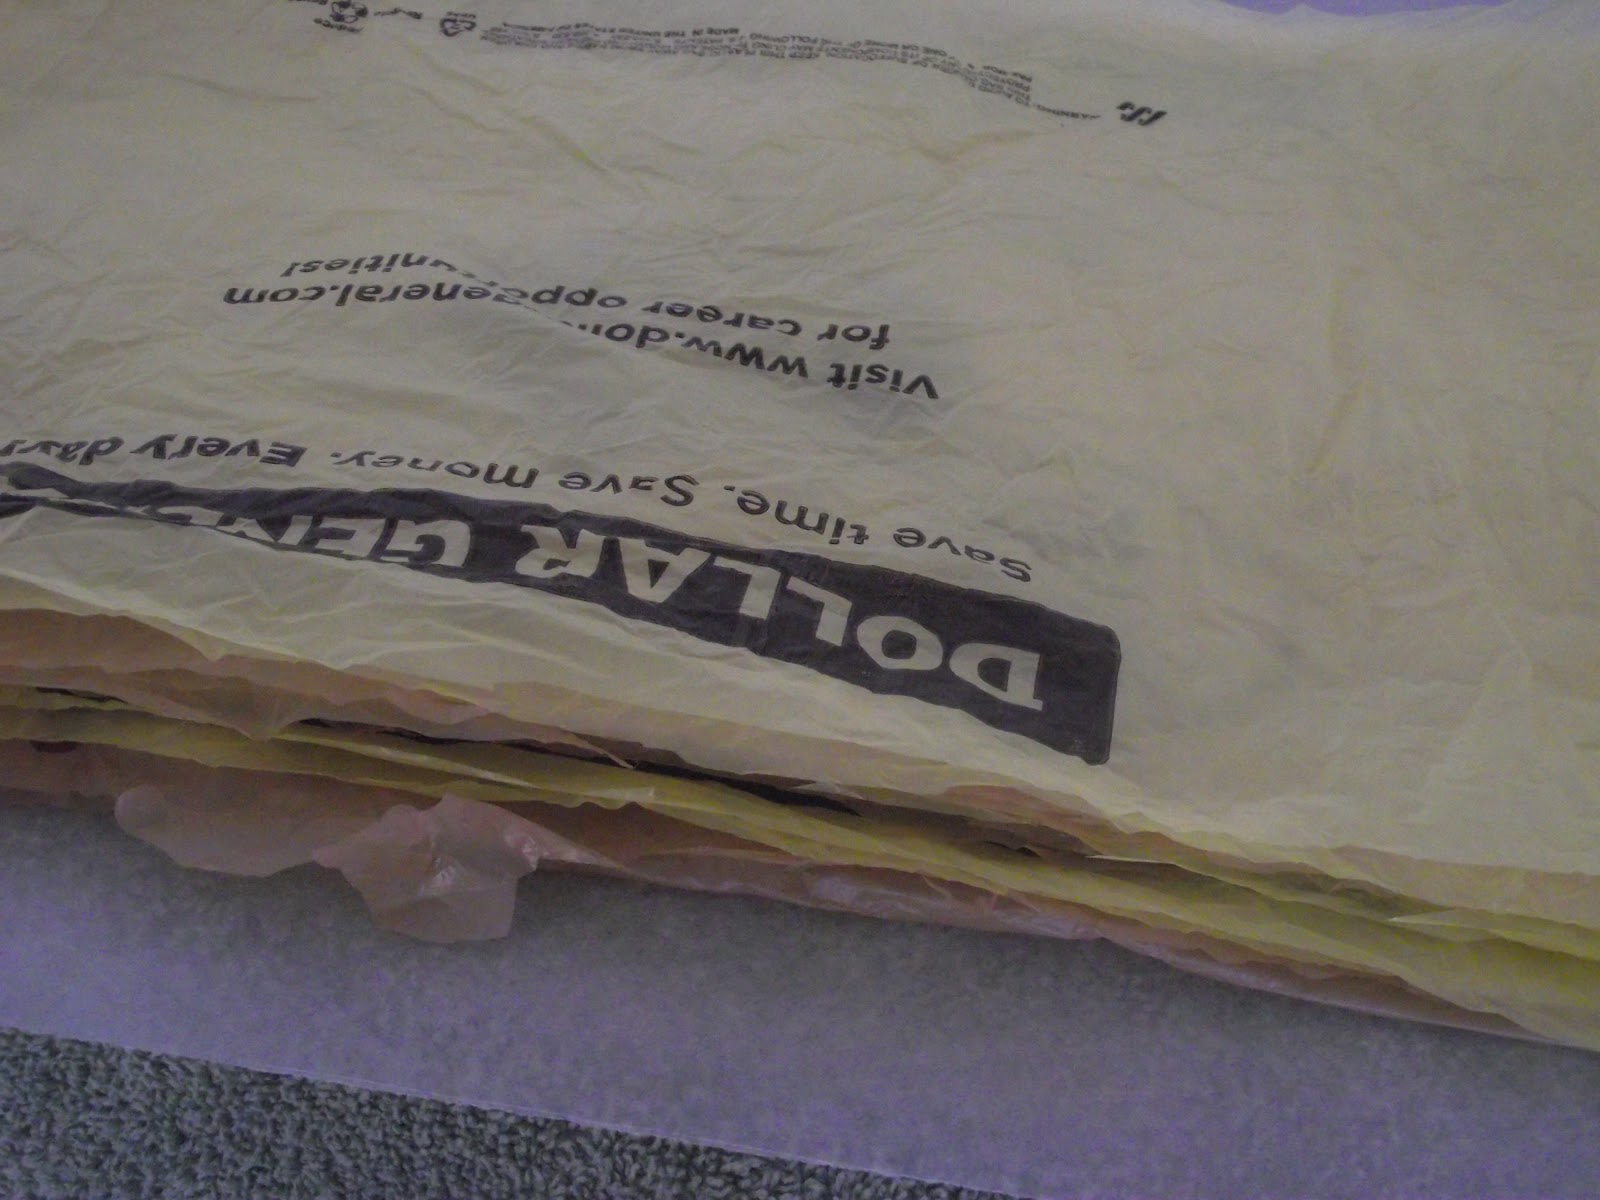
Plastic bags needed
Large piece of plabric: 7 to 9 grocery store t-shirt bags
Small piece (e.g. pocket size): 1 piece folded multiple times
Wax (Parchment) paper
Iron
Scissors (your good sewing scissors not recommended)
Hard surface
Well-ventilated area

Editor Comments:
· Make sure bags are clean. Give the bags a quick wiping inside and out with a damp cloth. Just takes a few minutes but will pay off at the end. Nothing worse than to successfully complete the fusion process only to find dirt or food residue melted into the plabric.
· Through experience, shiny retail and/or trash bags have a tendency to resist fusing. If you do use these, stick them in the middle of the stack.
· Why is 7 to 9 bags recommended:
o Less than 7 plastic bags have a tendency to scorch more easily even under low heat.
o More than 9 plastic bags are a little harder to fuse together due to thickness. If a thicker layer of plabric is needed for your project, go for it. The fusion process may just take a little longer.
· Scissors: Due to the very nature of the material, plastic bags will dull scissors much faster than what fabric would. Dollar store scissors are recommended.
Pre-Fusion Preparation:
Set the iron on a low heat setting such as polyester.

Prepare Bags:
Bottom Seam: Stack the bags one on top of another lining up the bottom edges then cut off the bottom seams.


Handles: Fold each bag in half lengthwise matching up the handles then stack the bags on top of another. Cut the handles off at the base.

Fusion:
Cover the hard surface with wax/parchment paper. 2 strips may be needed depending on how wide the plastic bags are. Place a plastic bag on top of the wax/parchment paper. (Important Note: Bags with print or design should be either placed in the middle or turned inside out if being used on the outside. If you want to show off the print or design on the outer layers, place a clear plastic bag over the print or design to avoid getting ink on your iron.) Continuing layering the bags one on top of another.
Cover the hard surface with wax/parchment paper. 2 strips may be needed depending on how wide the plastic bags are. Place a plastic bag on top of the wax/parchment paper. (Important Note: Bags with print or design should be either placed in the middle or turned inside out if being used on the outside. If you want to show off the print or design on the outer layers, place a clear plastic bag over the print or design to avoid getting ink on your iron.) Continuing layering the bags one on top of another.


Smooth out the bags after each layer to remove any excess air that could get trapped in between. Place wax/parchment paper on top to sandwich the bags in between. Make sure there is plenty of excess wax/parchment paper on the outer edges of the bags because the bags will expand during the fusion process.


Starting in the middle, place a hot iron on the wax/parchment paper for approximately 15 seconds then press the iron out to the edges. Continue moving the iron from the middle to the outer edge edges until the entire piece is covered.


Before peeling the wax/parchment paper away from the plabric, check to make sure the bags have successfully fused together. To determine this, the outer edges should not separate. It should be one complete piece. Gently peel away the top and bottom wax/parchment layers from the plastic fabric. If the wax/parchment paper sticks to the plabric, take a damp rag over that area. It comes right off. If an area didn’t fuse while peeling, place the wax/parchment paper back over the area that needs more fusing and press with the iron.

