Showing posts with label free crochet pop tab pattern. Show all posts

Wednesday, January 8, 2014

Pop Tab T-Yarn Granny Square Crochet Pouch - Part 2

Row 4, adding new pop tab row - 
Making sure pop tabs are facing same direction, with right side of pop tab facing right side of piece, single crochet stitch through pop tab hole and 1st stitch of piece.  You might need to look at the back of piece to make sure the hook is going through the correct single crochet stitch of row 3. Single crochet in same pop tab hole and 2nd stitch of row 3.  Essentially, you're repeating the stitch for stitch pattern as you would normally.  Repeat this across.


To continue the pattern:

Connecting the Squares - 
Row 1:  Attach red with a slip stitch through the first hole of a pop tab with right sides facing starting in one corner of square - your choice.  


Follow Row 4 instructions across.  Chain 1, turn.


When row is complete, open pop tab so piece lays flat.  You might have to do some stretching for everything to look right and fall into place. 

Row 2:  Now place right sides of pop tab and 2nd square together, 2 single crochet stitches in each hole across.    

This pic shows the back side.
 When row is complete, open piece so it lays flat. 


You might have to do some stretching for everything to look right and fall into place. Follow this same process for connecting the other 2 squares.

Repeat Row 1 and 2 to connect remaining 2 squares.

Working bottom:
Row 1b:  Starting at bottom edge of connected squares, with right side of pop tab facing right side of piece, attach red with slip stitch, follow Row 4 instructions.  When row is complete, open pop tabs so piece lays flat. Change to color gray, chain 1, turn.


Row 2b:  2 single crochet stitches in each hole across, chain 1, turn.
Row 3b:  2 single crochet stitches in each stitch across.  Change to color red.  
Row 4b:  With right side of pop tab facing right side of piece, follow Row 4 instructions.  When row is complete, open pop tabs so piece lays flat.  Fasten off, weave in ends.

Repeat Row 1b thru Row 3b for other side.  Follow the same Row 2 instructions above for connecting both sides together - with red place right sides of pop tab and other side together, 2 single crochet stitches in each hole across. 

This is what the bottom looks like when finished - 


(Left Pic) Outisde Side View / (Right Pic) Inside View

T-shirt Lining:
Using the upper part of the t-shirt that is leftover, whichever color you want for the lining, lay the granny square piece flat on the t-shirt material. 

Measure and cut around the pouch.  Sew the lining to the inside/wrong side of pouch with matching thread.


Sunday, January 5, 2014

Pop Tab T-Yarn Granny Square Crochet Pouch - Part 1


As mentioned in the last blog post, my neighbor gifted to me a big box of t-shirts.  Meaning the creative juices continue to flow as I try to invent new design concepts on what to do with them.  Since this box has such a variety of colors I decided to take advantage of this.

So where did the inspiration to create a pop tab granny square come from?  Believe it or not I had just logged into Ravelry and was perusing through various patterns when I saw a beautiful granny square design.  That's when I decided - let's see what a pop tab granny square would look like.  

Let's get started - 

Supplies needed:  
Stitch Knowledge:  single crochet, double single crochet (sides) and reverse slip   stitch (top edging)

The pouch consists of 4 granny squares - 
Each square is made up of 4 rows of 5 pop tabs = 20 + 6 pop tabs on         each end = 32.  Each side is made up of 2 squares that are connected in the middle with 10 pop tabs.  The bottom is made up of 3 rows of 18 pop tabs 

Preparation:  
Pop Tab - I personally have taken a dislike to the edge piece that remains on the pop tab when it is pulled off from the can.  So just a heads up that you will start to see my designs (e.g. bracelets, purses, etc.) will have this removed.  


The positive:  It just gives the pop tab overall a much cleaner                       appearance as you can see in the first pic below.

The negative:  Time consuming to sit there and remove that edge piece         from every pop tab.   I found the best time to do this is while watching           tv.  Once you get started, you'll be amazed at really how many you can           get done while watching a 1/2 program unless its The Big Bang Theory.           That is one of my favorite shows and it's hard to do anything when you           are laughing.   

Here's what you want to do - using needle nose pliers, grab the left               corner of the edge piece and slowly remove it from the pop tab all the             way across until it is completely removed.  I forgot to mention that you'll       want to have a trash container/bag near by to put that edge piece in             once you remove it from the pop tab.  

If you decide that it's just not worth it, than I would suggest just removing the edge piece from the end row pop tabs.

If it doesn't come off cleanly, just grab your dollar store nail file and a few back/forth motions will file away the rough edges.  


Design Notes:
Right sides are always worked together meaning the right side of the pop tab faces the right side of the piece.

Whenever possible, work tails in behind the single crochet stitches as you go to avoid weaving in ends later.   


Pattern - make 4 squares:
Starting with 1st color, join with a slip stitch in first hole of first pop tab and make single crochet stitches in same hole.


Row 1:  Add another pop tab behind the 1st pop tab and make 2 single crochet stitches going through both holes.   Continue adding pop tabs until there is a total of 5 pop tabs (12 single crochet stitches).  Chain 1, turn.


Row 2:  With wrong side facing you, place pop tab in same direction as 1st row pop tabs, single crochet through first stitches and through 1st hole of pop tab that is on right side of piece.  Picture below shows what the right side looks like.


Continue across in same manner as 1st row.  Picture below show what the right side will look like when the 2nd row is completed.


When row is complete, open pop tab so piece lays flat.  You might have to do some stretching for everything to look right and fall into place.


Row 3:  Chain 1, turn.  Make 2 single crochet stitches in each pop tab hole across. Chain 1, turn.


As indicated before, the pop tabs are added on the right side of piece.     


Row 4:  Making sure pop tabs are facing same direction, with right side of pop tab facing right side of piece, single crochet stitch through pop tab hole and 1st stitch of piece.  You might need to look at the back of piece to make sure the hook is going through the correct single crochet stitch of row 3. Single crochet in same pop tab hole and 2nd stitch of row 3.  Essentially, you're repeating the stitch for stitch pattern as you would normally.  Repeat this across.


Row 5:  When row is complete, open pop tab so piece lays flat.  You might have to do some stretching for everything to look right and fall into place.  Chain 1 turn. 2 single crochet stitches in each stitch across.  Chain 1, turn.

Row 6:  Repeat row 4.  Open pop tabs and lay piece flat, stretch and pull for everything to look right and fall into place.


Sides of Square:
The sides are worked the same way as row 4.  Starting at the corner, place a pop tab facing right sides together and single crochet through both holes.  Overlap another pop tab and make 1 single crochet stitch through overlapped pop tabs and pop tab hole of piece.  Repeat across for a total of 6 pop tabs with one single crochet stitch in each hole.   Repeat on the opposite side.

  
.
Outside Edging:
Attach gray with a slip stitch to any pop tab hole, make a single crochet in same hole and in 2 single crochet stitches across, 5 single crochet stitches in each corner.  When you reach the starting hole, make 1 more single crochet stitch and join with slip stitch to 1st single crochet made.  


Repeat 3 more times so you have a total of 4 squares.

I'm currently working on Part 2 now and will have it posted in the next few days.  

If you have any questions on Part 1 pattern, please email at plastiquerecreations@yahoo.com.


Friday, July 19, 2013

Free Crochet Pattern - Party Favor-Plarn Pop Tab Bracelet


This design was created from a request I received for an easy-to-crochet pop tab bracelet pattern.  The requestor is throwing her tween daughter a birthday party and wanted to give as gifts each of girl a pop tab bracelet.  But, she was on a limited budget.   The pattern needed to be easy and quick to make. 


After practicing various stitches and techniques, realized I was trying too hard. Finally this is what I came up with ...  in less than 15 minutes you have a cute-fun pop tab bracelet.   

While I was having fun, decided to see what it would look like made with other types of recycled yarn - e.g. hosiery yarn, t-shirt yarn and sheets yarn. It looks fabulous ..  sorry I don't have pics. I will have to make up more and post the pics.     

So if you're looking for party favor gift idea, here it is.   


Materials:

Instructions:

Place 2 pull tabs with right sides together - matching same size holes - wrong side facing you, join plarn with a slip stitch, chain 1, single crochet in same hole. 2 single crochet stitches in next hole, chain 1, turn.


*Open the pull tabs to flatten, place another pull tab with right sides together - matching same size holes - wrong side facing you, 2 single crochet stitches in same hole, 2 single crochet stitches in next hole.


*Repeat same steps, keep adding pop tabs until you have the desired length.  


To finish - match right sides together of first and last pop tabs,  2 single crochet stitches in same hole, 2 single crochet stitches in next hole.  Fasten off and weave in ends.


That's it.   Please share your bracelet pics.


This pattern is for your personal use only.   This pattern may not be sold, published, reproduced-mechanically or electronically, or by any other means, including photocopying from any website(s) or electronic mailing lists, etc… Please do not offer, sell or distribute this pattern in any way to anyone else.

Copyright © 2013 Plastique Recreations
Designer, Teresa Wooley
Email: plastiquerecreations@yahoo.com

Sunday, March 3, 2013

Free Pattern: Crochet Pop Tab Bow Ring

Has anyone ever asked what is the inspiration behind one your designs?  

Don't laugh .... I was inspired to create the Pop Tab Bow Ring after watching a recent episode of 'Jerseylicious'. 

The show itself doesn't do anything for me but I love tuning in to see what jewelry Tracey and Olivia will be wearing.  The earrings are so big they look heavy enough to rip right out of their ears and the rings almost swallow up the whole hand. 

So when I saw Tracey wearing this big bow ring I just had to make one for myself.


 So I wondered what would a pop tab bow ring look like, and here it is:

 
Here is the pattern for you to make one for yourself:


SKILL LEVEL:  Easy
MATERIALS:
  • Crochet Hook - Size F
  • Plastic Yarn:  1 plastic bag of choice (recommended strip width:  approx 1")
  • 1 Pop/Pul Tab (cleaned with a smooth inside edge)
  • Sewing or Craft Needle
*Foundation:  Join plastic yarn aka plarn with a slip stitch in a hole of the pull/pop tab, single crochet in same hole and single crochet in next hole, turn.


Row 1:  Chain 1, 2 single crochet in both stitches, turn. (4)
Row 2:  Chain 1, 2 single crochet in first stitch, single crochet in next 2 stitches and 2 single crochet in last stitch, turn. (6)
Row 3:  Chain 1, 2 single crochet in first stitch,  single crochet in next 4 stitches and 2 single crochet in last stitch, turn. (8)
Row 4:  Chain 1, Chain 1, 2 single crochet in first stitch, single crochet in next 6 stitches and 2 single crochet in last stitch, turn. (10)  Fasten off, weave in ends.


*Repeat on opposite side of pop tab.


Ring:  (Designer Note:  The # of rows on each side will determine how tight/loose you want the ring - 5 rows was a nice fit for my ring and pointer fingers and a good tight fight for my middle finger.) 

*With wrong side facing you, join plarn with a slip stitch through existing stitch, single crochet in same space, single crochet in next hole through existing stitch, turn.  Chain 1, single crochet in both stitches for 5 rows.  DO NOT BIND OFF, remove hook making a big enough loop so you don't lose the stitch.  *Repeat on opposite for 5 rows.  Do a quick fitting.  When completed, on one side complete stitches and weave in loose end.  On the other side fasten off leaving long enough tail to whip stitch both ends together.

When completed, on one side complete stitch and weave in loose end. On the other side fasten off leaving long enough tail to whip stitch both ends together.

Edging is optional: 
  • The gray bow was edged using the reverse single crochet by joining the plarn with a slip stitch at the foundation row then reverse single crochet stitch in each end row stitch around back to the foundation row.  Repeat on the opposite side.
  • The brown bow was edged by joining plarn with a slip stitch at the foundation row, *chain 1, slip stitch in next end row stitch.  *Repeat around to back to the foundation row. Repeat for the opposite side.
 
Optional but recommended:  After creating the design I noticed the bow didn't  want to lay flat.  It kept bending up.   To remedy this, use the extra matching plarn and needle to stitch the foundation row to the top of the ring.  I found this did the trick.


Wear it proudly or gift it to a 'Olivia' or 'Tracy' you know!!!


Feel free to email me with any questions at plastiquerecreations@yahoo.com


Monday, May 21, 2012

Free Pop Tab Crochet Pattern - Glamour Bracelet/Cuff


I love coming up with new pop tab bracelet designs and this is one of my newest that I'm offering as a free pattern.

The neat thing about this pattern is it can be made into a bracelet or add more pop tabs to each panel and make it into a cuff.  Your choice - keep it small and dainty or go as big as you want.


Materials Needed:
  • Size F crochet hook
  • The # of standard size plastic bags or other recycled yarn of your choice will depend on whether you make a bracelet or cuff.  (For the gray bracelet, I was able to make 2 bracelets with one plastic bag.) 
  • The # of pop tabs needed will depend on whether you make a bracelet or cuff.  (For the gray bracelet, 2 pop tabs are used for each panel with 6 panels total.  For the white bracelet, 4 pop tabs are used for each panel with 6 panels total.)
  • Craft needle for stitching panels together.
Plarn Preparation:  Here is the link to making plarn for this pattern:

Recycled Yarn alternatives:  pantyhose and t-shirt yarn works great with this pattern as well.  Just cut your strips thinner than normal.


Instructions:
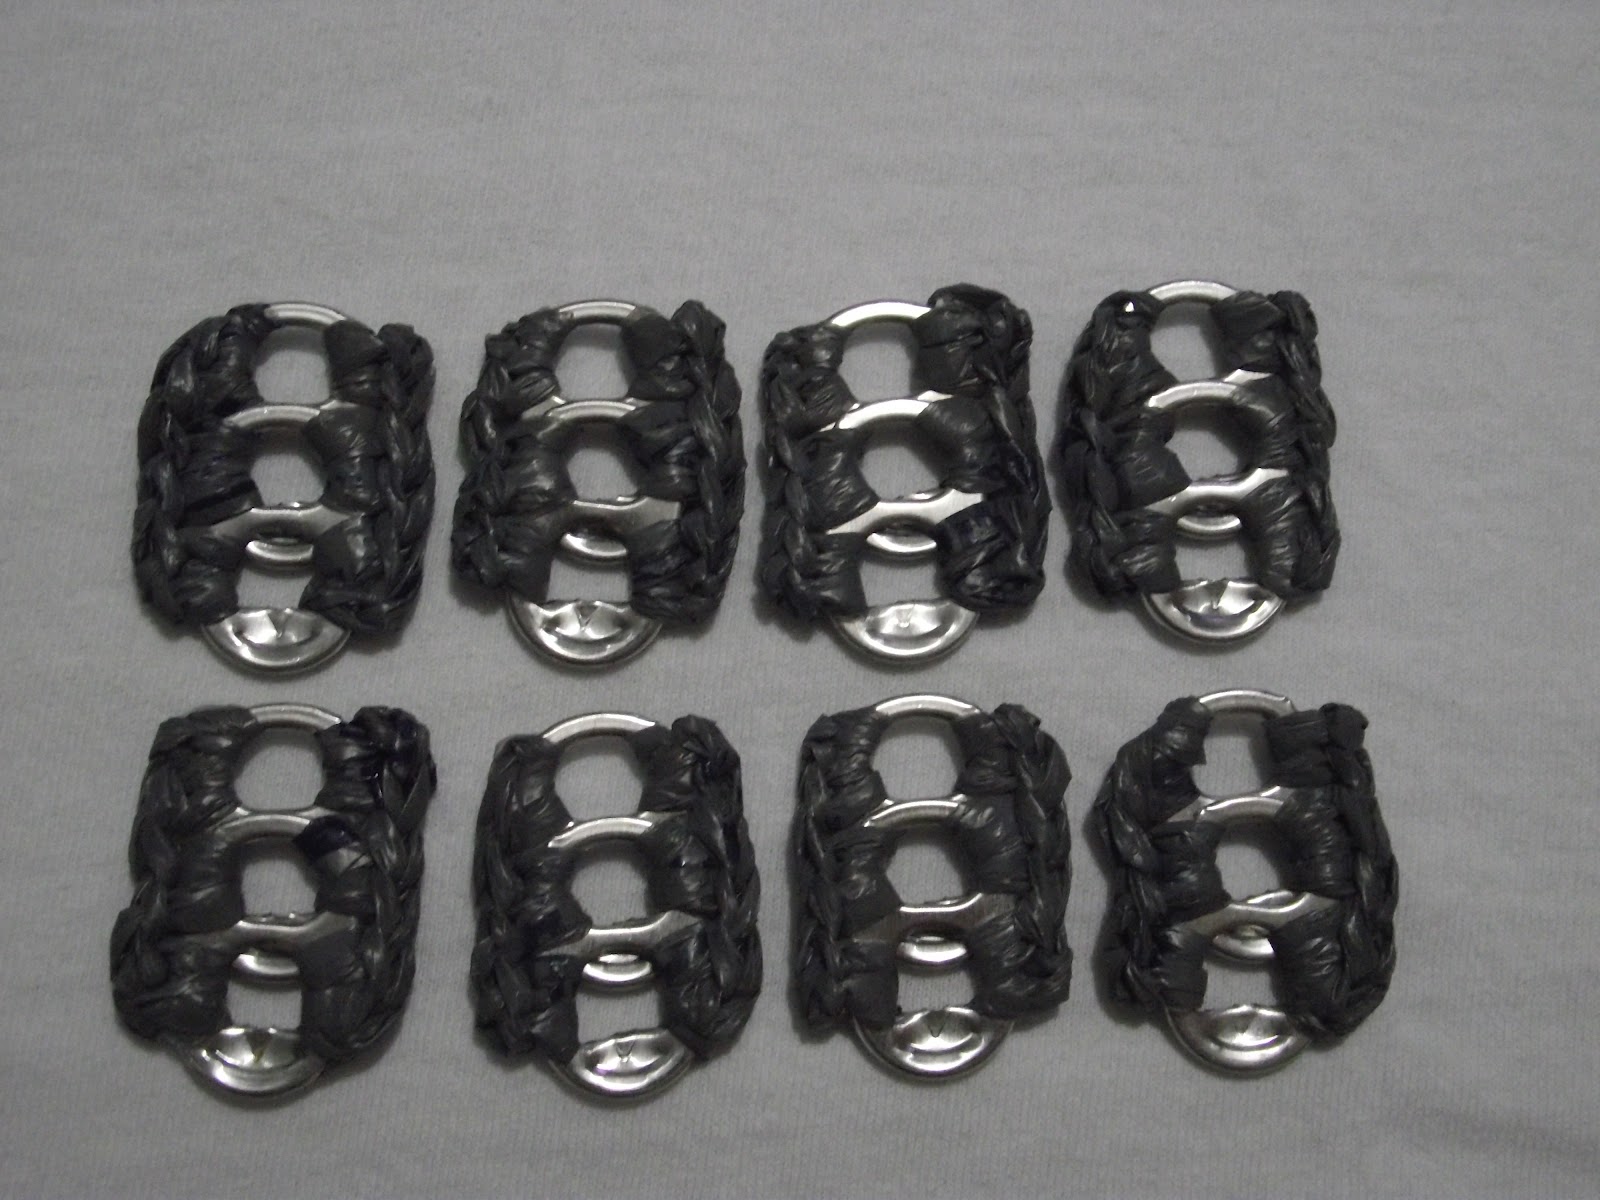
Attach plarn with slip stitch in hole of a pop tab, chain 1 and make a single crochet in same stitch.  Place another pop tab behind and make 2 single crochet stitches in next hole going through both pop tabs.  Continue adding pop tabs with 2 single crochet stitches in each hole.  When desired length is achieved, finish by making 2 single crochet stitches in last hole.  Fasten off, weave in ends.  Repeat the same on opposite side.


When first making the bracelet, I didn't know how many would be needed so I made up a few then stitched each one together, then made up a few more, etc..  To sew panels together, put right sides together and whip stitch on the back side.


When you have so many stitched together, place it over your wrist to see how many more panels will be needed.  There is some stretch, enough to pull bracelet over the hand when bracelet is finished. 

Finish bracelet by stitching the 2 ends together.  Then turn inside out.


One last note:  Since this is a bracelet made with pop tabs, I wanted the pop tabs to shine through. 

However, feel free to single crochet, reverse single crochet or even slip stitch around the ends of the pop tabs.    

Here are a few alternative design options:
  • Use a different color to whip stitch panels together 
  • With right side facing you, make x's across covering whip stitching.

If you have any questions, don't hesitate to contact me at plastiquerecreations@yahoo.com.

Copyright © 2012 Plastique Recreations.  This pattern is for your personal use only.  This pattern may not be sold, published, reproduced-mechanically or electronically, or by any other means, including photocopying from any website(s) or electronic mailing lists, etc  Please do not offer, sell or distribute this pattern in any way to anyone else.