
I held an office job for many years and when I discovered a run in my pantyhose (after cursing) it immediately went into a basket. When I had enough to work with, they were transformed/recreated into something useful.
Hence, achieving 'One Less' in the landfill.
Not really sure what you would call yarn made out of hosiery. Plastic yarn is called 'plarn' and t-shirt yarn is called 'tarn' so maybe it makes the most sense to call hosiery yarn 'harn'???
Here is my tutorial for processing hosiery (pantyhose) into yarn:
Here is my tutorial for processing hosiery (pantyhose) into yarn:
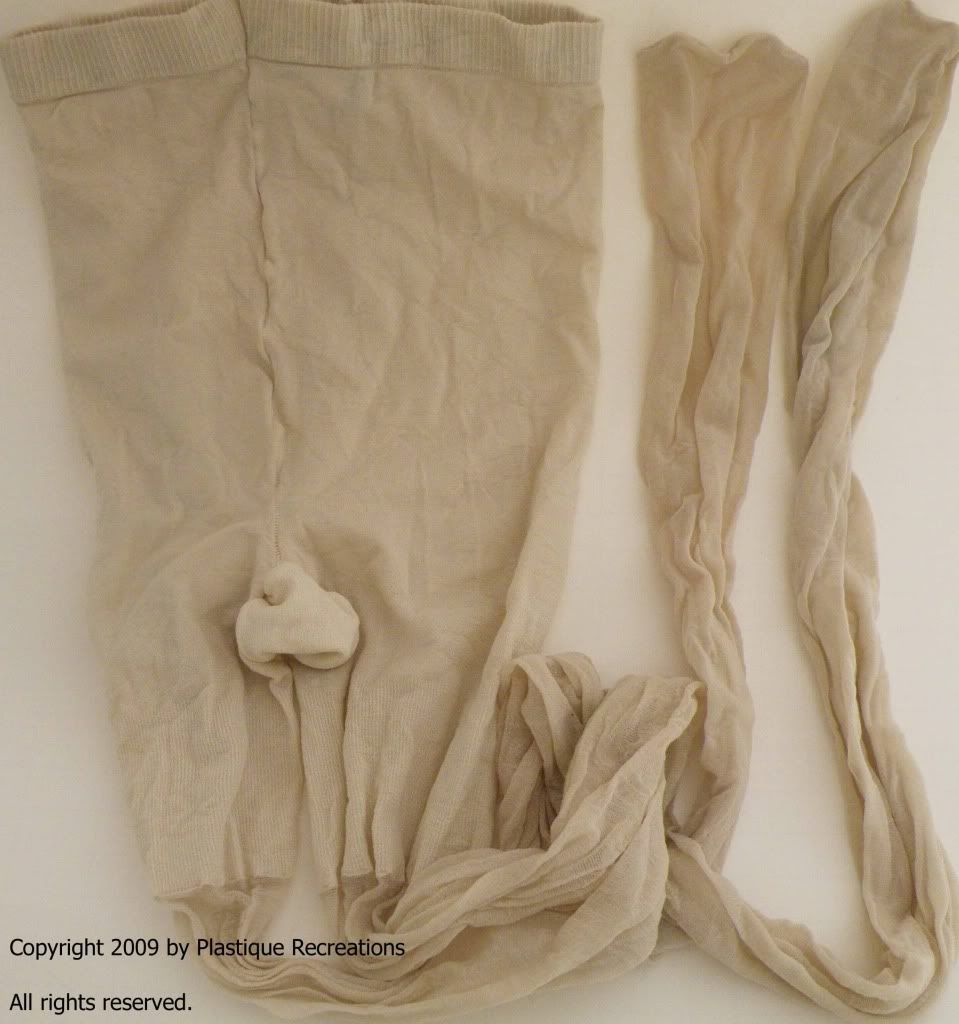
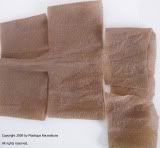
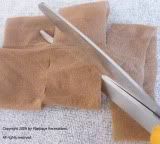
Lay the pantyhose out on a cutting surface. Fold the panty section in half. Cut the panty off from the legs at the seam.
Special Note: Pantyhose is a very user-friendly, light weight material making it easy to cut through multiple layers. I've not had any difficulty lining up seems.
Lay each leg on top the other, even up toe and cut off about 1/2" below seam.

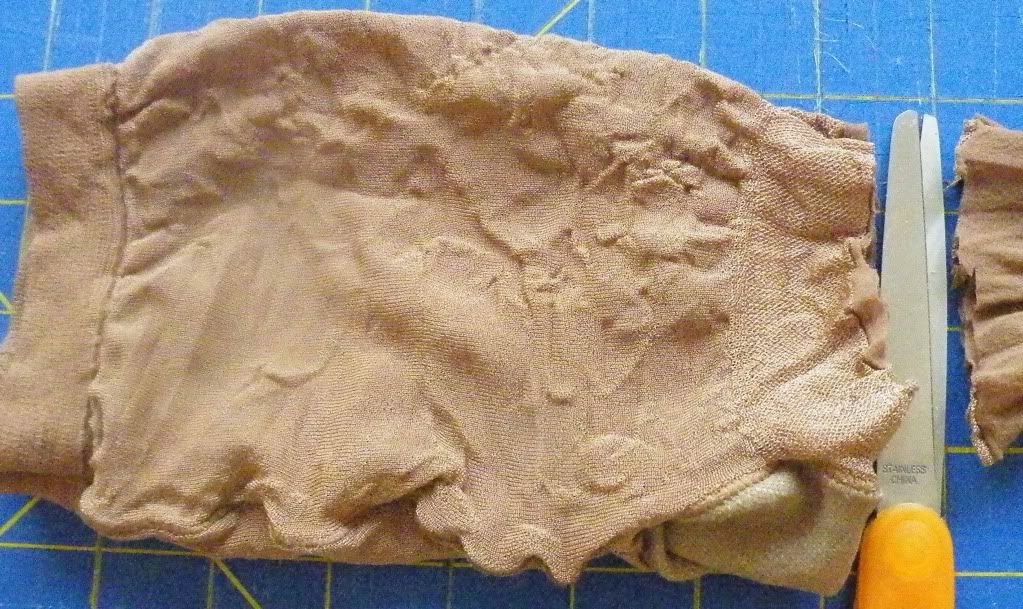
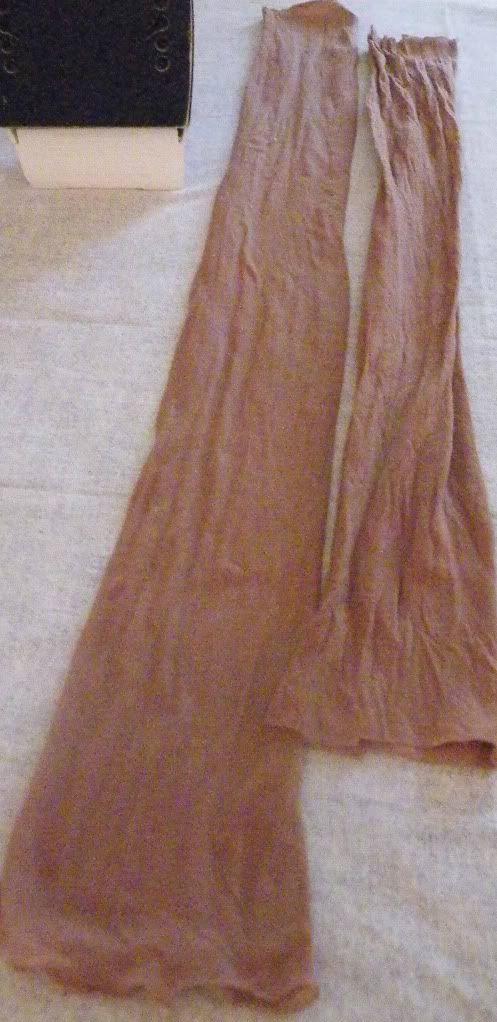
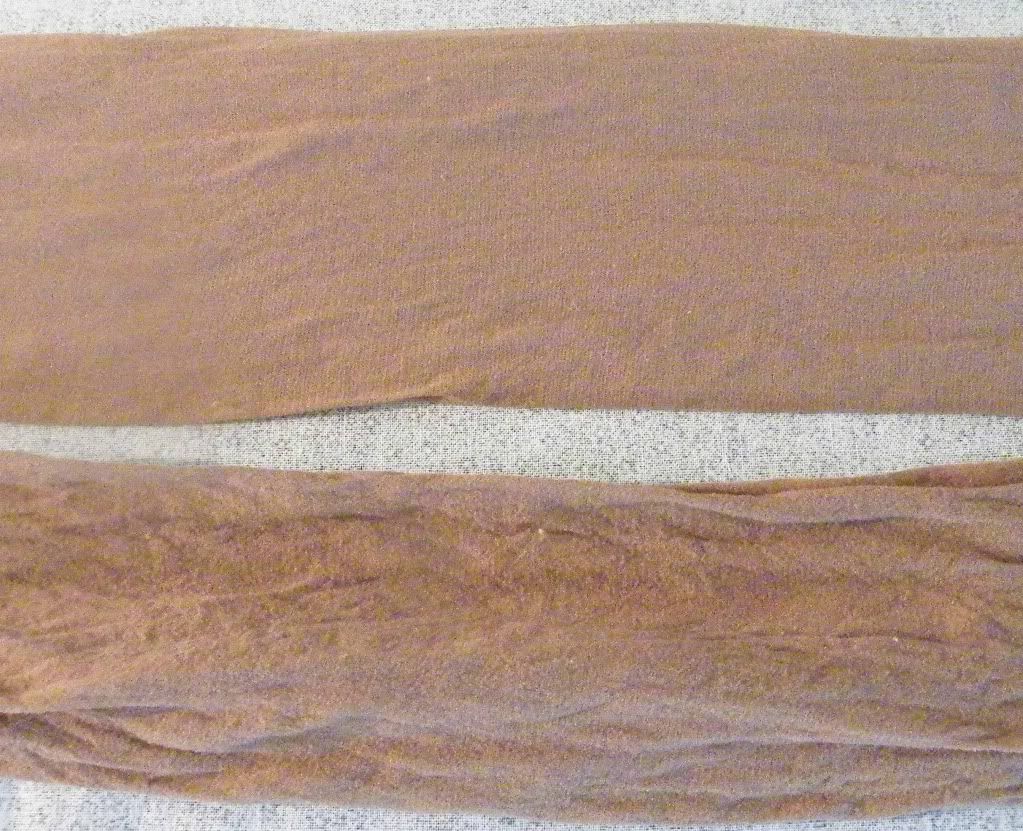
You now have something that looks like a tube with openings on each end. Lay these out on your ironing board and iron each leg. A polyester setting works perfect. (FYI - This is the same setting I use when fusing plastic, if that helps any.) Ironing the legs will stretch them to their full potential which makes cutting alot easier. You can see the difference, it's very obvious:

Cutting Steps:
I found the easiest way to cut hosiery into yarn is to use the 'Continuous (Single-Strand) Method: http://plastiqrecreation.blogspot.com/2009/04/continuous-single-strand-strip-cutting.html. Hosiery yarn is very similar to t-shirt yarn.
Lay the ironed tube on cutting surface and fold the bottom up to within about 1/2" from the top. Begin cutting strips starting from the bottom fold up to 1st fold. This leaves that 1/2" area to top fold uncut (what I call the spine). (NOTE: The width of the strips are determined by your project needs). A typical width is 1 to 11/2" wide.

Because this is such light weight material, I would suggest running a afghan hook, knitting needle, etc. through the middle of the spine separating the layers. It'll also might help if you straighten out each strip.

Because this is such light weight material, I would suggest running a afghan hook, knitting needle, etc. through the middle of the spine separating the layers. It'll also might help if you straighten out each strip.
To make a single strip/continuous strand, place your scissors at one open end of the tube, cut the bottom off of the first section just under the spine.
To cut next strip, angle scissors upward from the previous cut section just under the spine to the top of the next section. Repeat this until you have reached opposite end of tube. Once you have reached the end, you should have one continuous strand.
Once you have reached the end, you should have one continuous strand.
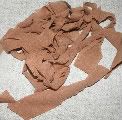
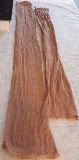
Just like t-shirt yarn, to make a curl - take a section of the srip in each hand and pull. It'll curl up right before your eyes. Then move on to the next section and repeat until you have reached the end of the strip.
I have tried other method which I don't recommend. For example, the double-strand method: http://plastiqrecreation.blogspot.com/2009/04/double-strand-cutting-and-connecting.html.
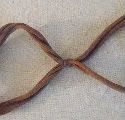
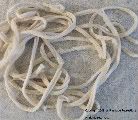
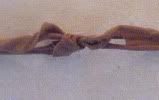
Cut two strips (they would be very small) then loop together. As you can see, the knot isn't very small and would be very difficult to hide.
You could also cut two long strips and make a small cut at the top of each then loop together. As you can see, they tear easily and again would be very difficult to hide.
Stay tuned I will soon be posting a 'How to' on tips for working with this type of yarn as it is extremely different due to its stretchability.
As always, your comments are very appreciated.
Copyright 2009 Plastique Recreations. All rights reserved.
